ShopDreamUp AI ArtDreamUp
Deviation Actions


Suggested Deviants


Suggested Collections


You Might Like…


Description
i use PSPXI
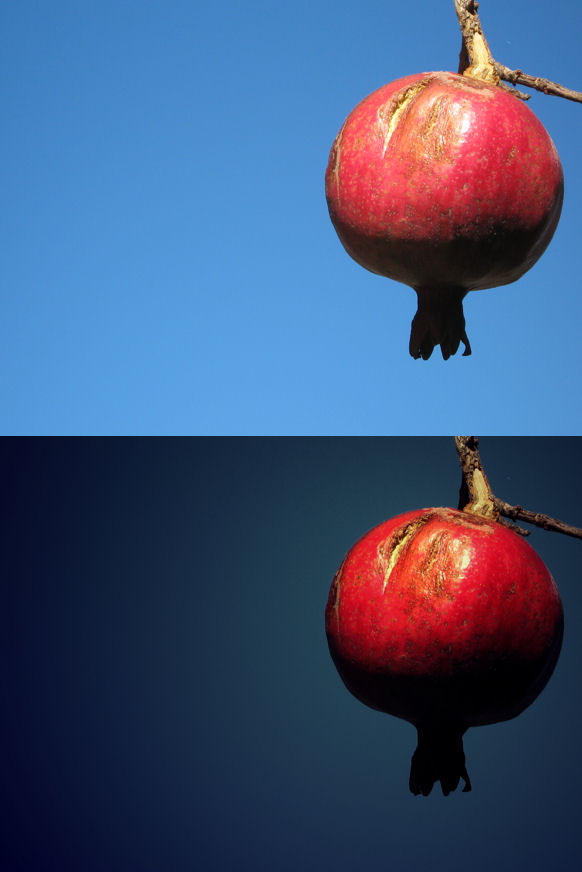
step 1. duplicate the background layer. on the duplicate, go to effects > photo effects > film and filters, and apply "enhanced reds" with no creative filter.
step 2. change the blend mode of that layer to "multiply."
step 3. create a new raster layer between the two you already have. fill it with the colour #000040 and set its blend mode to "exclusion."
step 4. create a new raster layer between the one you made in step 3 and the background.
step 5. fill it with a circular gradient, fading from black on the outside to transparency on the inside (adjusted so that the transparency focuses on the subject of the photograph).
and you're done [: hope it's useful. i might do more of these if it gets some interest.
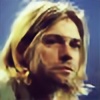
Image size
582x872px 60.75 KB
Make
Canon
Model
Canon PowerShot A470
Shutter Speed
1/318 second
Aperture
F/5.8
Focal Length
22 mm
ISO Speed
80
Date Taken
Jul 15, 2008, 7:30:10 PM
© 2009 - 2024 zoeil
Comments2
Join the community to add your comment. Already a deviant? Log In
ooh! this is great, ill try it when i have a shot of something red! thanks ")